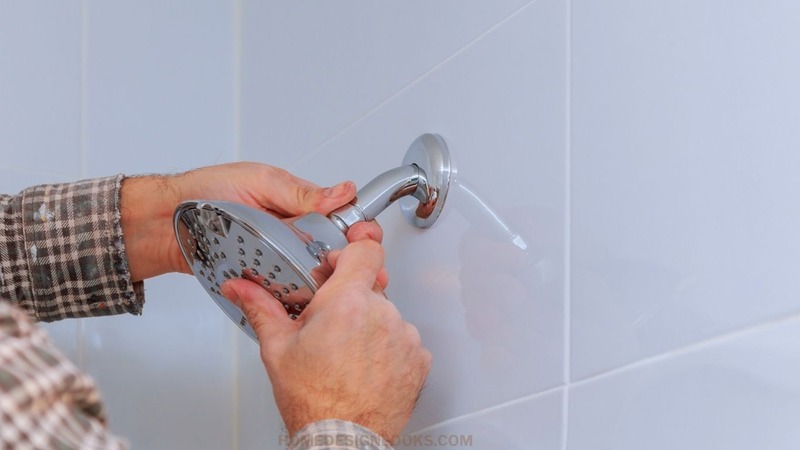
Installation Essentials: Tips for Setting up Your New Shower Mixer
We will tell you Tips for Setting up Your New Shower Mixer. Upgrading or setting up a new shower can completely transform your bathroom experience. Modern shower mixers come with a sleek design and improved functionality, providing a consistent flow and the right temperature every time you need it.
In this pursuit, many turn to trusted brands and suppliers, like Buildmat, to ensure they get the best products. Still, having the right shower mixer is just the beginning. Proper installation is crucial to ensuring longevity and top-notch performance. Here is a comprehensive guide to help you through the process.
The Best Mixer To Use Will Depend On Your Needs
When it comes to choosing the right shower mixer for your bathroom, several factors need to be taken into consideration. Firstly, consider the size and layout of your bathroom. If you have a small bathroom, a compact shower mixer that doesn’t take up too much space may be the ideal choice. On the other hand, if you have a larger bathroom, you may opt for a more elaborate shower mixer with additional features.

Additionally, consider your personal preferences in terms of design and functionality. Do you prefer a traditional mixer or a more modern and sleek design? Are you looking for a mixer with specific features, such as a thermostatic control or a rainfall showerhead? Take the time to research and ensure that the shower mixer you choose is compatible with your existing plumbing setup. Not all mixers will work for every home, so it’s essential to thoroughly assess and select the most suitable option for your needs.
Gather Your Tools Before Starting

Before starting the installation process, gathering all the necessary tools to complete the job efficiently is important. Having the right tools on hand can save you time and frustration during installation.
Common tools needed for shower mixer installation include a wrench, Teflon tape, and a drill if securing the fixture onto tiles or a wall. Other tools may be required depending on the specific installation process and the type of mixer being installed. Reading the manufacturer’s instructions beforehand is essential to ensure you have all the necessary tools and equipment.
Prepare The Installation Site
Preparing the installation site is an essential step that should not be overlooked before installing a shower mixer. The area where the mixer will be fixed should be cleaned thoroughly to ensure no obstacles or debris can interfere with the installation process. It’s essential to remove any old fixtures, sealants, or tapes that may be in the way, as they can affect the fit of the new shower mixer and increase the risk of leaks. A clean surface ensures a tighter and more secure fit for the new shower mixer, reducing the likelihood of any issues occurring during and after installation.
Additionally, a clean installation site increases the lifespan of the new shower mixer, ensuring that it remains in good condition and functions optimally for years to come.
Understand Your Water Pressure
Understanding your home’s water pressure is important before proceeding with a shower mixer installation. Different shower mixer models perform optimally at varying water pressures, so knowing your water pressure is crucial to choosing the appropriate shower mixer to best suit your needs. If the water pressure in your home is too high or too low, this can negatively impact the performance of the shower mixer.
For example, a shower mixer designed for high-pressure systems might not work well if the water pressure is too low. In these cases, installing a pressure-reducing valve or a pump may be necessary to adjust the water pressure to the ideal range for the shower mixer you’ve chosen.
Ensure Proper Alignment
Proper alignment is crucial when installing a shower mixer to prevent potential issues and ensure optimal performance. One common challenge during installation is misalignment, which can lead to an unappealing final result and impact the mixer’s effectiveness. To avoid misalignment, it is important to double-check measurements before starting the installation process.
Taking the time to measure twice and install once can help to achieve accurate alignment, resulting in a more visually pleasing outcome. Additionally, proper alignment is essential for the efficient functioning of the shower mixer. When properly aligned, the mixer will operate smoothly and deliver water at the desired temperature and pressure.
Test Before Finalizing The Setup
Testing the shower mixer setup is an important final step that should not be overlooked before sealing everything up during installation. After installing the mixer, it can be tempting to finish up quickly and call it a day. However, testing the setup is essential to ensure everything is working correctly. Turning on the water and checking for leaks is essential to help identify any issues early on. Leaks, if present, should be addressed before sealing everything up.
Seal All Joints And Connections
Sealing all joints and connections is a crucial final step in the shower mixer installation process. This step is essential as it helps to prevent water from seeping into the walls, which can cause potential issues such as mold growth or structural damage. To effectively seal the joints and connections, it is recommended to use a high-quality sealant that is specifically designed for bathroom applications.
Ensuring that all joints and connections are adequately covered with the sealant is important to create a watertight barrier. This will not only protect the walls from water damage but also contribute to the longevity and durability of the shower mixer installation.
Conclusion

Setting up your new shower mixer might seem daunting, but with the right steps and precautions, you’ll have a seamless experience. By choosing the right mixer, prepping the site, understanding your water pressure, and ensuring alignment, testing, sealing, and maintaining, you’ll get the best out of your new shower mixer and extend its lifespan. Dive in with confidence and enjoy your upgraded shower experience!
Also, visit Home Design Looks for more quality information.

